Butterflake Rolls

Iconic Watson family Thanksgiving roll recipe.

Butterflake Rolls

  • 1 1/3 cup scalded milk, cooled to lukewarm
  • 1 1/2 tablespoons instant yeast, dissolved in 1/3 cup warm water
  • 2 eggs, beaten
  • 1/4 cup sugar
  • 3/4 teaspoon salt
  • 4 cups flour
  • 1/2 cup butter, softened
  1. Mix flour and salt in a large bowl. Mix eggs, sugar, and yeast. Add wet ingredients to flour mixture and stir thoroughly.
  2. Cover and let rise 45 minutes.
  3. After 45 minutes, butter hands and a cutting board.
  4. Divide the dough in half. Pat one half of the dough into a rectangular shape on the cutting board to be about 6×12 inches.
  5. Fold over 1/3 and pat with butter. Fold over again. Repeat three times, using half the butter for each half of the dough.
  6. Cut the dough in strips, one inch wide and six inches long.
  7. Tie each strip into a knot and drop into a greased muffin tin.
  8. Cover and let rise 45 minutes.
  9. Bake at 375°F for 12 to 15 minutes.

Makes 24 rolls.

Roasted Vegetable Chili

This is a vegetarian riff on some of the same flavors that I used in my Damn Good Chili recipe. Only with less meat. The recipe also pulls in some inspiration from The Pioneer Woman’s Roasted Vegetable Minestrone. Between all the roasting of things and the fermentation (beer and soy), we get plenty of flavors to round it all out.

Roasted Vegetable Chili

  • Plant and Fungus
  • 1 large yellow onion
  • 4 medium carrots
  • 3 medium celery stalks
  • 2 garlic cloves
  • 2 medium zucchini
  • 2 medium yellow summer squash
  • 2 large sweet bell peppers (red and yellow)
  • 2 C. mushrooms
  • 1 6-oz. can roasted mild green chilies
  • 2 6-oz. cans tomato paste
  • 1 28-oz. cans crushed tomatoes
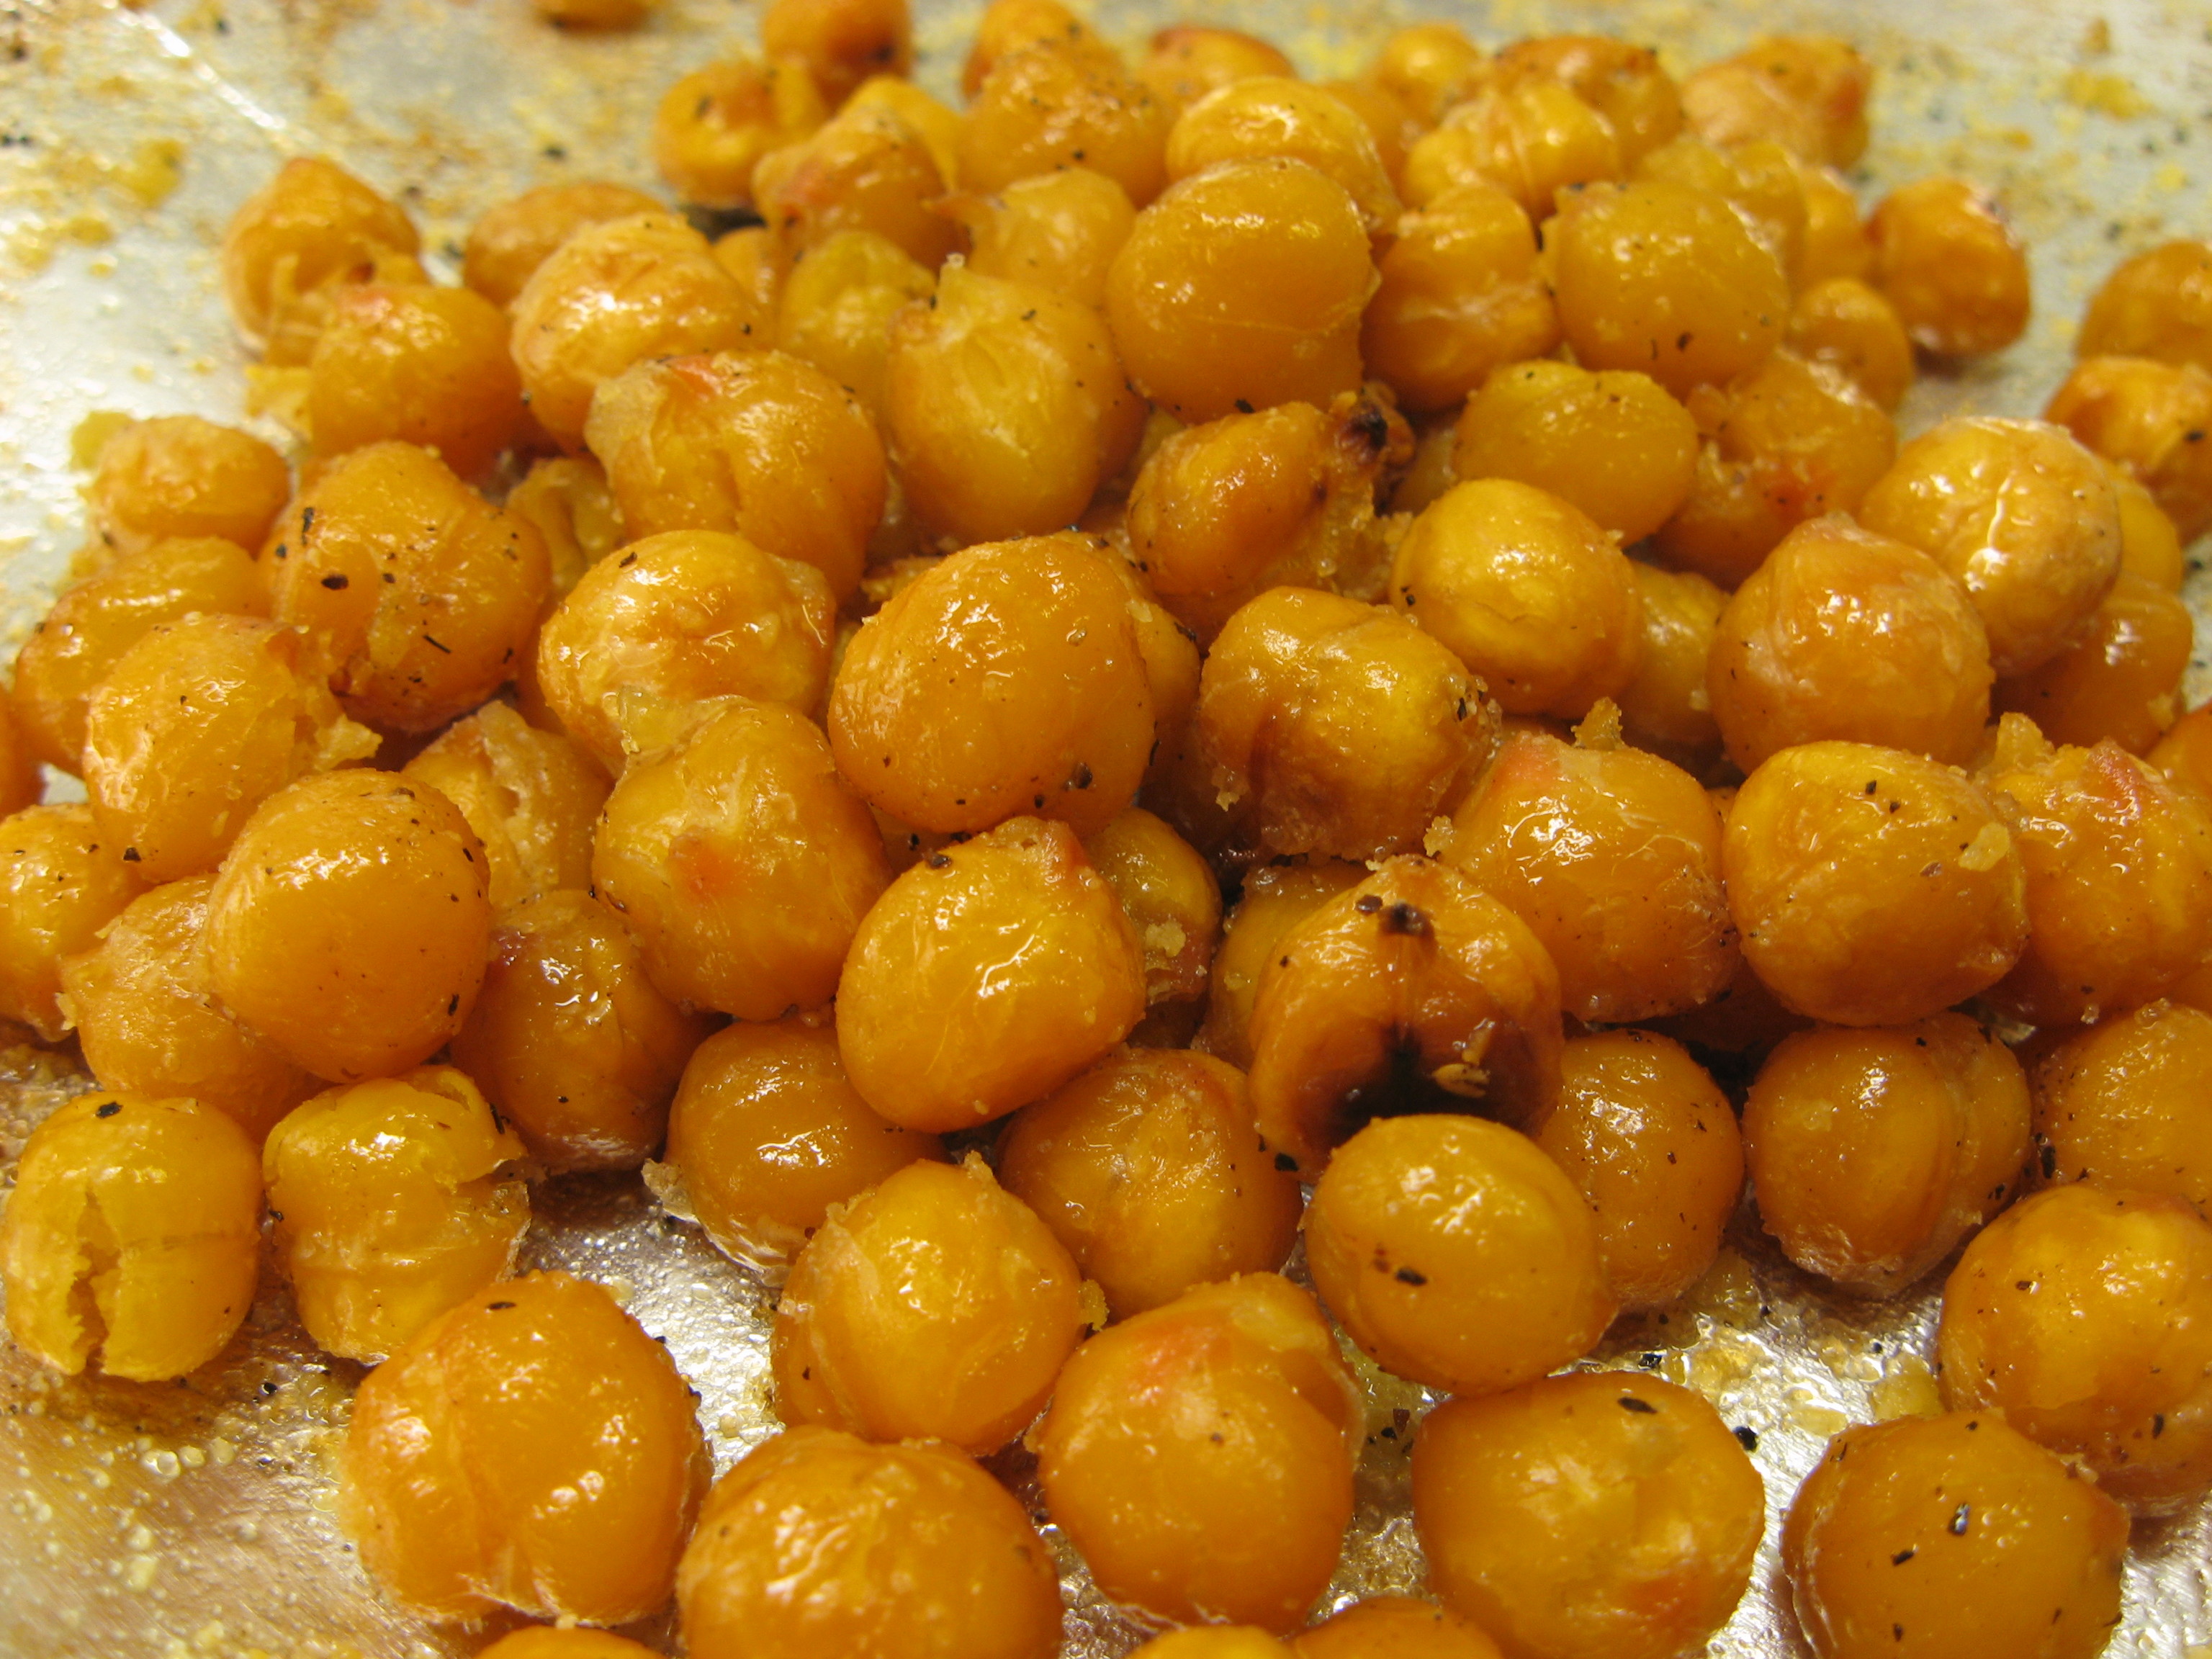
  • 5 cans of beans, your choice (pinto, small red, kidney, garbanzo, small white & navy)
  • Liquid
  • 1/2 C. olive oil, divided
  • 2 12-oz. bottles beer (stout) (one for the chili, one for you)
  • 1/4 C. dark soy sauce
  • 4 C. water
  • Seasonings
  • 2 T. chili powder
  • 1 T. cumin
  • 2 T. cocoa powder
  • 1 T. salt (or to taste)
  • 1/2 t. black pepper

Set crock pot on high and add the beans. By the time the sauce is ready, it will be getting warmed up.

Set oven to broil with one rack high and one rack low. Wash and cut open the bell peppers. Cut them into slabs that will lay flat on a baking sheet, skin side up. Chop the mushrooms coarse, toss in olive oil, salt and pepper. Spread mushrooms on another baking sheet. Place the peppers sheet directly under the broiling element and the mushrooms lower. Broil until the pepper skins are blackened, 3-5 minutes. The mushrooms will not take much longer, if the oven was already hot; they are done when they are tough and chewy, but not burnt.

While the peppers and mushrooms are roasting, coarsely chop the zucchini and summer squash into 1/2-3/4 inch cubes. Toss with olive oil, salt, and pepper. Spread on two baking sheets. Roast at 425°F for 10-15 minutes, stirring once; they are done when they are browning, not quite blackened; some will be toasty crunchy.

(I used dual ovens, which made the roasting go so much faster, one on broil for the peppers and mushrooms, and one at 425°F on convection for the summer squash/zucchini)

Heat a deep saute pan over medium heat and add the remaining 3-4 T. olive oil. Remove skin from garlic. Peel and chop carrots. Wash and chop celery. Peel and chop onion. Add the garlic, carrots, celery, and onion to a food processor and mince fine. Add the vegetable puree to the olive oil and saute until carrots start to caramelize, about 10-15 minutes. Remove mixture from pan and add to the pile of roasted vegetables from the oven.

Smear the pan with the two cans of tomato paste and cook until it starts to brown and stick to the pan. Add the bottle of beer to deglaze. Add the crushed tomatoes, green chili peppers, soy sauce, water, and seasonings. Simmer for 10 minutes, stirring occasionally. Add the roasted vegetables and the sauce to the beans in the crock pot. Continue to cook in the crock pot for another two hours. Finish seasoning to your taste, adding more salt, hot sauce, etc.

Cherry Fluffy

I searched for “cherry fluffy” on Google and none of it was the genuine article. This is one of my favorite childhood desserts, along with several others that I just can’t get enough of (oatmeal cake, apple pudding, cherry cheesecake, etc.) I have to post this to share and to make sure that it is there for future generations. Not that future generations are likely to turn to my blog for recipe suggestions.

Cherry Fluffy

  • Crust
    • 1 1/2 C. flour
    • 1/3 C. brown sugar, lightly packed
    • 1/2 C. + 1 T. butter, room temperature
    • 1/2 C. chopped walnuts
  • Filling
    • 1 C. milk
    • 37 large marshmallows
    • 1 pt. heavy cream
    • 1 can cherry pie filling
  1. Mix the crust ingredients together with hands
  2. Spread in a 9×13 baking dish and bake for 15 minutes at 400°F
  3. After baking, crumble with a fork while it is still warm
  4. Save 3/4 C. for topping and press the rest back into the bottom of the 9×13 pan; packed, but not too firm
  5. Heat the milk and marshmallows until melted
  6. Set aside to cool, stirring occasionally
  7. Whip cream and fold into marshmallow mixture
  8. Spread half the mixture over the crust in the pan
  9. Add the cherry pie filling in a thin layer
  10. Top with the remaining marshmallow cream mixture and finish with the reserved crumbled crust
  11. Refrigerate overnight before serving
  12. As a child, I remember this stuff going fast. But not everyone in my family *now* likes cherries. So sometimes we make half cherry fluffy and half chocolate fluffy, substituting chocolate pudding for cherry pie filling, and then adding grated chocolate as a garnish. That is pretty tasty too, but I still love the original.

Roasted Cranberry Sauce

One of Oregon’s food exports is the cranberry, accounting for about 5% of the nationwide harvest. This year, we bought some local cranberries to make into cranberry sauce. My first time ever. Historically, it was Dad’s job (which he relished a lot) to make the cranberry sauce. His was usually ground up with oranges, sugar and nuts. I always tried some, but never LOVED it. But when I saw Nick post a Roasted Cranberry Sauce recipe, I had to try it. Since I don’t have any Triple Sec around, I modified it a bit, but it turned out great. I made it last night so it could mellow in the fridge overnight before the big day. And I daresay, this is the best cranberry sauce I have ever had. Sorry, Dad.

Roasted Cranberry Sauce with Candied Pecans (Adapted from Macheesmo, where it was pretty heavily adapted from a Bon Appétit recipe)
Makes about 3 Cups, easy to double or triple though.

Cranberries:

  • 1 pound fresh cranberries
  • 1 Cup sugar
  • 3 Tablespoons neutral oil
  • 1 Tablespoon fresh rosemary, minced
  • 1 Teaspoon fresh thyme, minced (or 1/4 t. dried)
  • 1 Teaspoon fresh sage, minced (or 1/8 t. sage powder)

Sauce:

  • 1/8 Teaspoon cinnamon
  • 1/3 Cup orange juice
  • 1/4 Cup sugar
  • 1/2 Cup currants (you could sub raisins, but chop them roughly so they aren’t so big)
  • Pinch of salt

Pecans:

  • 1 Cup pecans, roughly chopped
  • 2 Tablespoons water
  • 1/4 Cup sugar

Instructions:

  1. Mix cranberries, oil, 1 C. sugar, and herbs together in a bowl. Roast at 425°F for 20 minutes, stirring after 10 minutes.
  2. While cranberries are roasting, mix sauce ingredients in a medium sauce pan and simmer for 10 minutes.
  3. Remove cranberries from oven and add to the sauce pan. Simmer for another 2-3 minutes.
  4. While simmering the sauce, mix the pecan ingredients and spread on a baking sheet and roast for 8-10 minutes at 425°F.
  5. Remove nuts from the oven and stir as they cool. Place cooled pecans in an airtight container.
  6. Chill sauce overnight in fridge. Serve heated or chilled, topped with pecans.

Spicy Mediterranean Chili

Recently I participated in a chili contest and this is the recipe that I came up with. I was feeling like making something different than your standard run-of-the-mill chili, so I went with a Mediterranean theme. I was hoping to win the hottest chili award, but I did not. But talking with the two others chefs at the contest who had the other two spiciest chilies, I think it was agreed on that mine was the spiciest. I think that some people just tried two chilies, and voted for the spiciest of those two or something. The one that won was not even remotely spicy. I think it was rigged. Anyway, I digress. I had it all made up and ready to go, but it was lacking a little depth in flavor, so I added a handful of Guittard dark chocolate. That did the trick. It turned it from a rosy red to a nice brown and gave it that je ne sais quoi I was hoping for. Chocolate and chilies are best of friends, right? My chili recipe from last year was not good enough to repeat, but this one most definitely is. If this isn’t hot enough for you (on a scale of one to habenero, I give it a four), you can always add a habenero or even just some hot chili sauce.

Spicy Mediterranean Chili

Original recipe by Vernon Mauery

Ingredients

  • 1 clove garlic, minced
  • 1 large onion, diced
  • 2 carrots, grated
  • 4 jalepeno peppers
  • 3 cherry bomb peppers
  • 3 sweet banana peppers
  • 2 large (or 3 medium) red bell peppers
  • 4 medium tomatoes (about 1 lb.)
  • 2 C. prepared garbanzo beans (~3/4 C. dry)
  • 2 C. prepared black beans (~3/4 C. dry)
  • 1.5 oz. dark chocolate (or bakers chocolate)
  • 1 lb. bone-in lamb shank
  • 1 tsp cumin
  • 1 tsp ground mustard
  • salt
  • water
  • olive oil

Directions

T-8 hours:
Rub salt on lamb shank and place in crockpot

T-4 hours:
Wash tomatoes and skin them. The easiest way to do this is to blanch them or roast them until the skins come off nicely. Dice them and add them to the crockpot.

Wash peppers and then roast them. The bigger peppers will take longer. Make sure that most of the pepper is charred or the skins will not come off easily. As they come off the grill (or broiler), place them in a covered container to continue to steam themselves. With protective gloves on, skin and core the peppers. You can keep or discard the seeds as desired. Dice the all the peppers except the bell peppers and add them to the crockpot.

Add about one cup of water to the grated carrots in a saute pan. Cover and simmer over medium heat for about 20 minutes. Remove lid, add bell peppers and continue to cook until most of the water has evaporated. Pour mixture into a food processor and puree. Add puree to crockpot.

Add diced onion to the saute pan with about 1 T. olive oil. Saute for 4 minutes over medium heat. Add the garlic and saute for 1 more minute. Add mixture to crockpot.

Add the prepared garbanzo beans, with their water to the crockpot. Discard the water from the black beans and rinse them before adding to the crockpot.

Add cumin, mustard. Add salt as needed (depending on the saltiness of the beans and how much salt was on the meat.)

T-1 hour:
Pull the meat out and coarsly shred it with two forks. Put meat and bone back into the crockpot.

Add chocolate and stir until melted and dispersed throughout. Adjust spices as desired.

Serving Suggestion:
Serve with pita bread, chopped green olives, and feta cheese.

Nouveau Baked Beans

When you think of baked beans, you usually mentally insert Boston at the front. These are not Boston Baked Beans. More like Chickpea Popcorn or something. They make a great, tasty, healthful snack.

Nouveau Baked Beans

  • 2 C. cooked garbanzo beans (~ 3/4 C. dry beans, prepared)
  • olive oil
  • seasonings

Coat the beans in olive oil and bake on a cookie sheet at 425°F for 15-17 minutes or until starting to brown. Take care, the beans hiss, spit, pop and jump while baking. You may want to stir them part way through. Remove beans from oven and toss with seasonings. Try salt and pepper, curry powder, cumin, or any other flavor you like. Eat as an appetizer or add to a salad. Mmmm.

Artisan Breads Every Day and Sourdough Pizza

Over this past year, I have been testing recipes for Peter Reinhart’s new book, artisan breads every day. The goal of this book was to find a way to get the full flavor that delayed fermentation offers, but to make the preparation time shorter. Or something. I don’t know, because with the delayed fermentation plan, you mix the dough and then bake the next day. Not a lot of involvement in the middle.

But one thing that this book did offer was something along the lines of the Artisan Bread in 5 Minutes a Day style of making a bulk pre-ferment and then using a part of it each day for up to five days and baking a fresh loaf from that. This actually makes some really good French bread. One of my favorite recipes was the “same day french bread”, which uses a pre-ferment to pull in extra flavor. It is called same-day because you don’t count making the pre-ferment for some reason (maybe because you can also use it for the next 4 days). But that was some of the best French bread I have ever made. And in the process of testing these recipes, I learned the importance of the “stretch and fold” technique. This is the best way to strengthen the gluten in a very wet dough. Even a dough that has 70% or more hydration can become smooth and workable with the stretch and fold. After doing this, I found that my freestanding loaves gained 50% in height, rather than being so flat.

Part of the reason I though I would write this was that I chose to make some sourdough pizza dough from this book for our Friday night pizza night yesterday. Mmmmm. I do love good sourdough. The dough turned out to be very tasty, though I think next time I will leave out the honey since I think it made the crust brown too quickly. Our old oven died about three weeks ago and our new oven can bake at up to 550°F, which is about where you should be cooking pizza, but not having experience with those extra 50 degrees is making pizza baking interesting. As far as the rest of the family goes, they say they prefer the original Pizza Napoletana recipe from Peter’s Bread Baker’s Apprentice book. That is a darn good pizza dough recipe, so it is hard to beat it. But I have to mix it up every now and then or we wouldn’t ever know if something better came along.

I will likely write more about Artisan Breads Every Day another time, as I find time to work through the recipes. Can anyone say Chocolate Croissants?

Praise for Heirloom Crops

In 2008 and 2009, we purchased seeds from Seed Savers and have been saving them. Last year, we saved some pea seeds (Green Arrow), some tomato seeds (Bloody Butcher) and some sweet pepper seeds (Tequila Sunrise). This year, we expanded the varieties and also saved some green bean seeds (Empress), and more tomato seeds (Siberian and Stupice). The King of the North sweet pepper seeds were not quite fully developed, but there are still some left in the package from this year’s planting. The mini sunflower seeds were some volunteers in our garden, likely planted by our neighbor’s trained squirrels. The sunflowers may or may not germinate next year, but I think the rest of the seeds will.

This year’s growing season in Portland was longer than last year and much more productive. We ended up at the end of the season with a tub of tomatoes and peppers. We had several meals with fresh picked green beans. Since it was good for everything else, the peas were not happy. They died out a little too fast in the warm weather. I think it was the week of 100+°F that did them in. But we saved plenty of seed for next year. I think the King of the North peppers would have done better, but they were hit hard by a slug infestation early on. The slugs ate half the leaves on the plants, forcing them to spend energy on growing new leaves instead of peppers. But we did get some small ones by the end of the season. I think this year may have me giving up on leaf crops for a while. After two years of failure on the lettuce front, we tried swiss chard this year. It grew, but never got very big, so we didn’t pick any. By the time we did pick it, it was very tough and a little bitter. Next year, I think we will focus more on the beans, peas, tomatoes and peppers. Oh. And the basil. That failed miserably too. I finally gave in and picked up some starts from the farmer’s market.

Next year, I think we will start the tomatoes and peppers outside in a makeshift greenhouse so they can get more sunlight and yet not freeze at night. I learned that peppers need warm nights to grow and tomatoes need some chilly nights in order to not get too ‘leggy’ like ours did this year, growing in our house. We will see. I had quite a green thumb as a child, but I also had parents that knew their way around a garden to make sure I didn’t kill things. On my own, the garden is much trickier. 🙂

Mmmm. Buh-licious bread!!

Finally a crust and crumb that I can brag about. This is a loaf that I started as part of a Toastmasters speech. The speech was about how to make the best pizza dough ever. Since for demonstration purposes, the pizza dough and the pain a l’ancienne dough are identical to start with, I figured nobody would notice. Really the only difference is that the pizza dough has slightly less water in it, which makes it less sticky to the point that you can handle it. The pain a l’ancienne dough is so sticky that you really don’t want to touch it unless you are armed with copious amounts of flour.

The first and only time previously that I made this recipe, I found myself just a little bit rushed (smaller holes) and slightly over cooked them (dry crumb). This time, rather than shaping them as baguettes, I shaped a fat batard, which puffed up nicely. And differently than other batches of bread I have done, I did my final shaping right on the foil I was going to bake it on so the final transition to peel would not degas it. I think this was especially important on this loaf because the dough was so wet.

To round out the meal (It is written, Man shall not live by bread alone) Lauren made a batch of delicious beef stew with home-made noodles. I am telling you, we eat like kings (and queens) in our house.

Practically perfect chocolate chip cookies, my foot!

Our oven is slowly dying. When we bought the house, the inside glass panel on the oven door had one crack that extended from the top to the bottom of the pane. After I started baking bread, I wanted to get some steam action from the oven. One day, I accidentally dripped a single drop of water onto the open door. Sizzle, sizzle, POP! another crack was added to the pane which now has a triangular shard ready to pop right out if you pressed on it.

This is all in addition to the bad prognosis that the doctor oven gave us last time he visited. The igniter died and we had it replaced. We asked him how much a new window for the door would cost and he said it would not be worth it—just replace the oven. Oh, I almost forgot, when the house was still under the ‘homeowner warranty’, the oven went on the fritz and we had to have the front control panel replaced. The oven light still bugs out on us now and then, but hey, it’s getting old.

Now we are faced with a real dilemma. Do we buy a new oven now or should we wait until we can afford a remodel. I normally wouldn’t bother replacing the oven since it isn’t completely dead yet. But we haven’t been able to bake a decent chocolate chip cookie since we moved here. We really want to say it is the oven’s fault. Then we would have an excuse to get a new oven. But the current remodel plan calls for a double wall oven and a separate gas range, so a new oven just before remodeling the kitchen would be a waste of money.

In the mean time, we have been trying very hard to isolate the problem. We have done everything we can think of to get the cookies to turn out. The problem is that they end up flat and pockmarked on the top. We have tried using butter instead of margarine. We have tried soft butter, butter straight from the fridge, different recipes, varying the cooking temperature and time, a little bit more flour, and even refrigerating the dough. Our great lengths have gone as far as asking our neighbors to use their oven. Of course, theirs was a gas oven too, so gas ovens are somewhat suspect in my head. But the cookies never seem to turn out.

One day I recall reading about some chocolate chip cookie recipe that was supposedly created and tested by Consumer Reports. I figured if it is good enough to pass their quality testing, it should work for me. I searched for this fabled recipe and found The Practically Perfect Chocolate Chip Cookie. I printed it out and figured we could give it a shot. Nothing ventured, nothing gained. As we are following the recipe, we notice that it looks somewhat familiar. Wait a minute… This is the EXACT SAME RECIPE as the Original Nestlé Toll House Chocolate Chip Cookies. The only difference was that the recipe I found was tailored for use with a stand mixer. Harrrumph! The cookies still turned out flat and pockmarked.

We are inches from making up a batch of cookie dough and taking it over to our local Standard TV and Appliance showroom and telling them that the oven that cooks the best cookie will come home with us.

In the mean time, I will just have to settle for another kind of cookie. Oddly enough, only chocolate chip cookies and lemon sugar cookies seem to be affected by our oven this way. I swear it is the oven….